Solar panel maintenance: complete guide
Cleaning, monitoring and what actually needs a truck roll over 25 years.
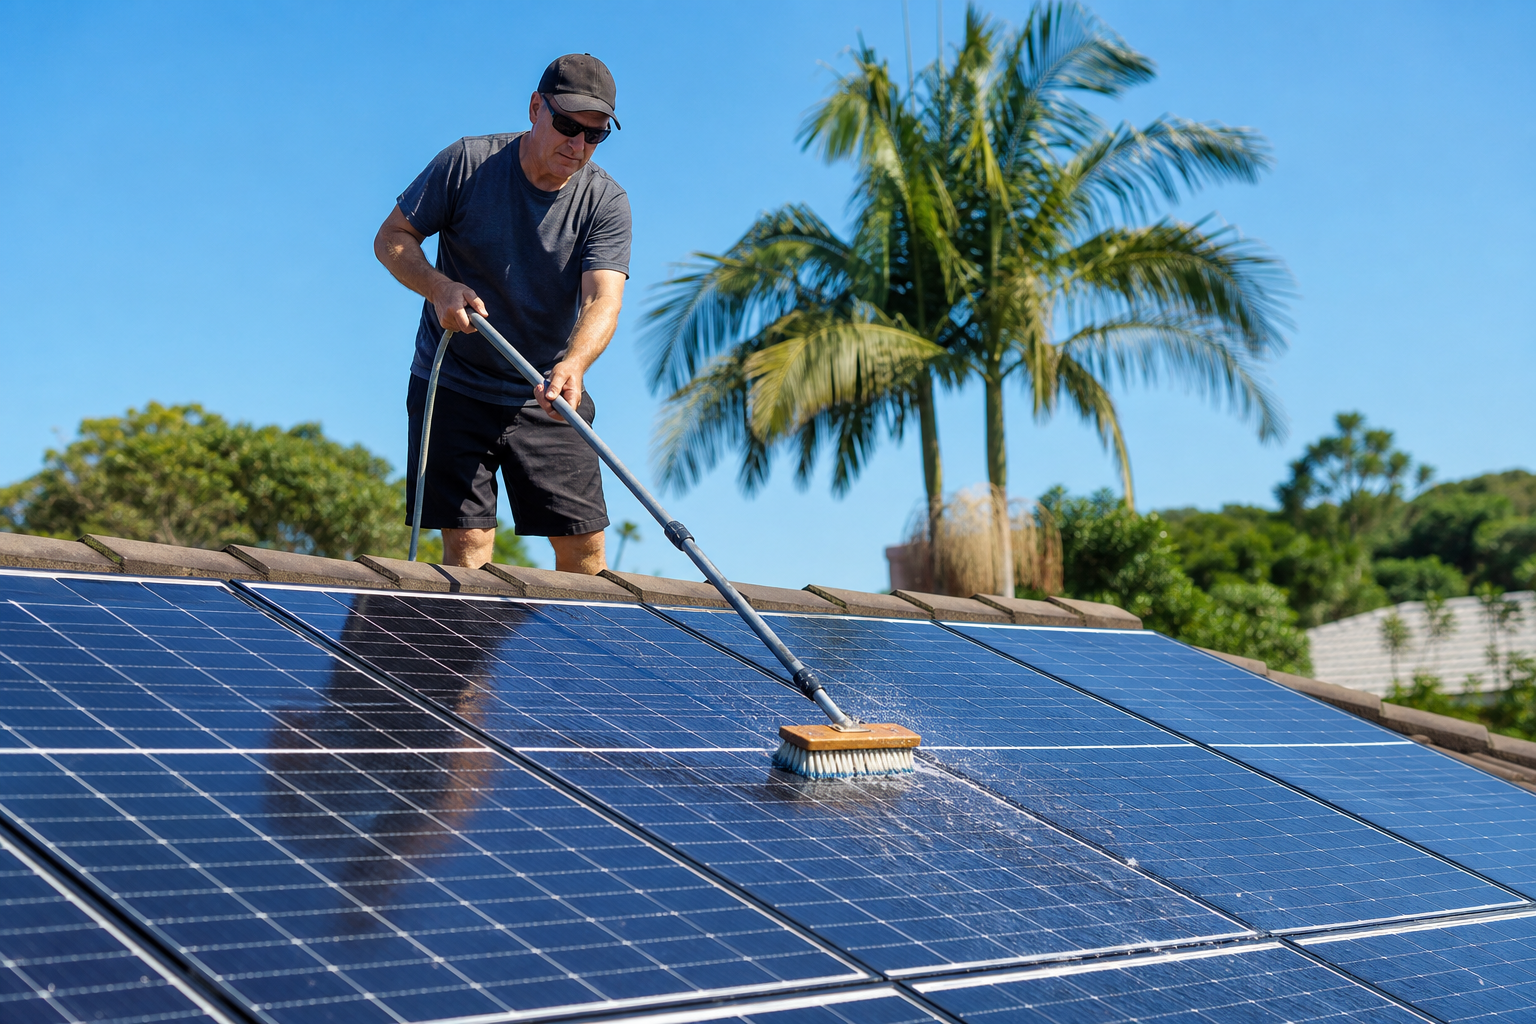
Solar panels are genuinely low-maintenance, but low maintenance is not zero maintenance. The glass surface is self-cleaning to a degree, rain washes away ordinary dust and light debris in most climates. But pollen accumulation in spring, wildfire ash, bird droppings, tree sap, and snow cover are exceptions that can measurably reduce production if left unaddressed. The good news is that most maintenance tasks are simple, infrequent, and inexpensive. The key is knowing what to watch for and when intervention is worth the effort.
Your monitoring system is your maintenance plan. A well-monitored system tells you when something is wrong, a sudden production drop, a string outage, an inverter fault code, before it costs you meaningful energy. Without monitoring, you might lose months of production from a single failed microinverter and never notice until your utility bill spikes. The best maintenance strategy is passive vigilance: check the app weekly, investigate anomalies promptly, and schedule physical inspections only when the data suggests a problem.
Cleaning
In most US climates, rain handles routine panel cleaning. Studies consistently show that the production loss from normal dust accumulation is 1 % to 5 % in temperate regions, often not enough to justify the cost or risk of climbing on a roof. The exceptions are arid climates with minimal rain, areas near agriculture where dust and pollen are heavy, coastal properties where salt spray accumulates, and locations downwind of wildfire zones where ash deposits can form an opaque layer.
When cleaning is warranted, use soft water, deionized or distilled is ideal, garden hose is acceptable, and a non-abrasive brush or squeegee on an extension pole. Clean early in the morning when panels are cool to avoid thermal shock from cold water on hot glass. Never use pressure washers, abrasive sponges, or harsh chemical cleaners, as these can damage the anti-reflective coating and void the manufacturer's warranty. If your panels are on a steep or second-story roof, hire an insured professional rather than risking a fall for a few percentage points of production recovery.
Want research like this in your inbox? Become a subscriber, free, no sales pitch.
Become a subscriber →Monitoring
Modern solar systems come with monitoring apps that display real-time and historical production data. Microinverter and power optimizer systems report at the individual panel level, making it easy to spot a single underperforming module. String inverter systems report at the string level, a single failed panel can hide within a string's output until you compare season-over-season production or notice a persistent underperformance trend.
Check your monitoring dashboard at least weekly. Look for sudden drops in daily production that don't correlate with weather. Compare monthly and annual production against the year-one estimate from your installer's design software. Gradual decline of 0.3 % to 0.5 % per year is normal degradation. A sudden 10 % or 20 % drop suggests a hardware failure, a dead microinverter, a tripped breaker, a damaged panel, or a wiring issue. Catching these failures early prevents weeks or months of lost production.
What to watch on the dashboard
- Daily production curve: should peak midday and taper symmetrically. A flat-topped or clipped curve may indicate inverter limiting.
- Panel-level comparison: one panel producing significantly less than its neighbors suggests dirt, shade, or hardware failure.
- Inverter error codes: note the code and frequency, then consult the manufacturer's troubleshooting guide before calling for service.
- Year-over-year trends: compare the same month across years to separate weather from system degradation.
Inverter lifespan
String inverters have a typical operational lifespan of 10 to 15 years, after which capacitors and other components begin to degrade. Most string inverter warranties cover 10 to 12 years, with extended warranty options available for additional cost. Budget $1,500 to $3,000 for a string inverter replacement in your long-term ownership model. Microinverters are typically warrantied for 25 years and are individually less expensive to replace, but accessing them requires removing the panel above, which adds labor cost.
Power optimizers sit between panels and a string inverter, and their failure modes are similar to microinverters, individual unit failure under a specific panel. The string inverter component still has the 10- to 15-year replacement horizon. Regardless of inverter type, factor at least one significant inverter-related expense into your ROI calculation. Ignoring this cost makes payback projections look artificially short.
Planning for inverter replacement
String inverter replacement is not an emergency, it is a scheduled capital expense. Most string inverters show gradual efficiency decline before failing outright, and monitoring data will often reveal the trend months in advance through clipped production curves, intermittent fault codes, or declining conversion efficiency percentages. When your string inverter approaches year 10, start budgeting $1,500 to $3,000 for a replacement and begin researching current models. Inverter technology improves rapidly, so a 2036 replacement inverter will likely be smaller, more efficient, and possibly battery-ready even if your original unit was not.
For microinverter systems, individual unit failures are less disruptive, you lose one panel's output rather than the whole array, but they are harder to detect without panel-level monitoring. A single dead microinverter on a 20-panel system reduces total output by only 5 %, which can easily hide in seasonal production variation. This is where diligent weekly monitoring pays off. Most microinverter manufacturers offer 25-year warranties, and replacement units cost $150 to $300 plus $100 to $200 in labor for the panel removal and reinstallation needed to access the unit. Keep a record of each microinverter's serial number and installation date so warranty claims can be processed quickly.
Pests and physical damage
Squirrels, birds, and other wildlife can nest under rooftop panels, chewing through wiring insulation and creating fire hazards. Critter guards, wire mesh screens installed around the array perimeter, cost $500 to $1,500 at installation and are significantly cheaper than repairing chewed wiring after the fact. If you live in an area with active wildlife near your roof, critter guards are a worthwhile preventive investment.
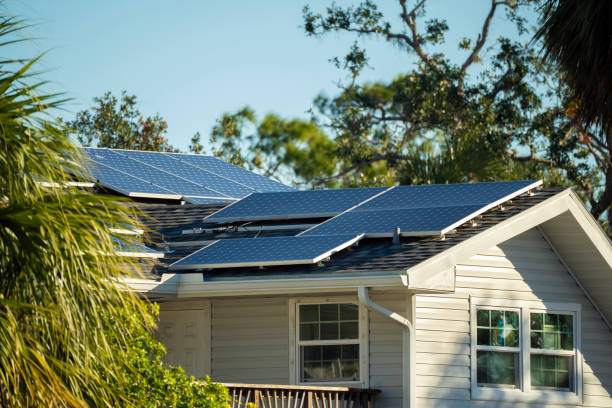
Physical damage from hail, fallen branches, and wind-driven debris is covered by most homeowner's insurance policies under the dwelling coverage section, but verify with your insurer. Panels are tested to withstand one-inch hail at terminal velocity, but larger hailstones or direct branch impacts can crack glass or damage cells. After any severe weather event, visually inspect the array from the ground with binoculars and check monitoring data for production changes. If you see cracked glass, exposed wiring, or displaced panels, call your installer immediately.
When to call a pro
Call your installer or a qualified solar service technician when you observe persistent error codes on the inverter, visible physical damage to panels or wiring, rapid unexplained production loss, rodent or pest activity under the array, or after any storm that could have caused impact damage. Most maintenance visits cost $150 to $400 depending on scope and travel distance. Keep your installer's warranty contact information in an accessible place, ideally saved in your phone alongside the monitoring app.
Do not attempt to troubleshoot electrical issues yourself unless you are a licensed electrician familiar with DC photovoltaic systems. Solar arrays produce dangerous voltage whenever the sun is shining, and there is no whole-system "off switch" unless every panel has a rapid shutdown device. Even with rapid shutdown, the conductors between panels and the shutdown electronics may still carry voltage. Leave electrical diagnostics and repairs to qualified professionals.
Budgeting for maintenance
Over a 25-year system life, realistic maintenance expenses include one to two professional cleanings per year in dusty climates ($100 to $300 each), one string inverter replacement ($1,500 to $3,000), one or two micro-inverter replacements ($200 to $500 each including labor), critter guard installation if not done initially ($500 to $1,500), and one to two service calls for diagnostic or minor repair work ($150 to $400 each). Total 25-year maintenance cost for a typical system: $3,000 to $8,000, or roughly $120 to $320 per year. This is a fraction of the system's annual energy savings and should not deter a sound solar investment, but it should appear in your financial model.
Check your monitoring app weekly. Clean only when production data shows a real loss. Budget for one inverter event. Keep your installer's contact info handy. That's the whole plan. See install process for setting up monitoring from day one.
Common questions
How often should I clean panels?+
Only when monitoring shows a real production dip that doesn't correlate with weather, often zero to two times per year in temperate US climates. In dusty or arid environments, quarterly cleaning may be justified by the production data.
Does snow need clearing?+
Snow usually slides off panels within a day or two due to the smooth glass surface and panel tilt. Clear manually only if safe to do so and if prolonged snow cover is causing meaningful production loss during a period when you need the energy.
Do panels need annual service contracts?+
Not necessarily. A responsive installer, a good monitoring system, and occasional visual inspections from the ground are usually sufficient. Annual wash-and-check contracts can be worthwhile in dusty climates or for homeowners who prefer hands-off ownership.
Become a subscriber
Free updates on costs, incentives and panel tech, written for homeowners, not sales teams.
Become a subscriber →